Creating a small NAS server based on OpenMediaVault
The initial version written 2020-07-15. Latest update 2020-08-01. See a separate page for long-term impressions.
My goal was to create a small and simple network attached storage (NAS) server to serve as a file sharing server between devices connected to home network. The performance requirements for this system were low. I wanted to file storage to be encrypted.
This page documents the installation, setup and configuration process to build a NAS server, lists my initial impressions on OpenMediaVault NAS software and documents some things I tried out but did not work.
Asus VivoMini PC
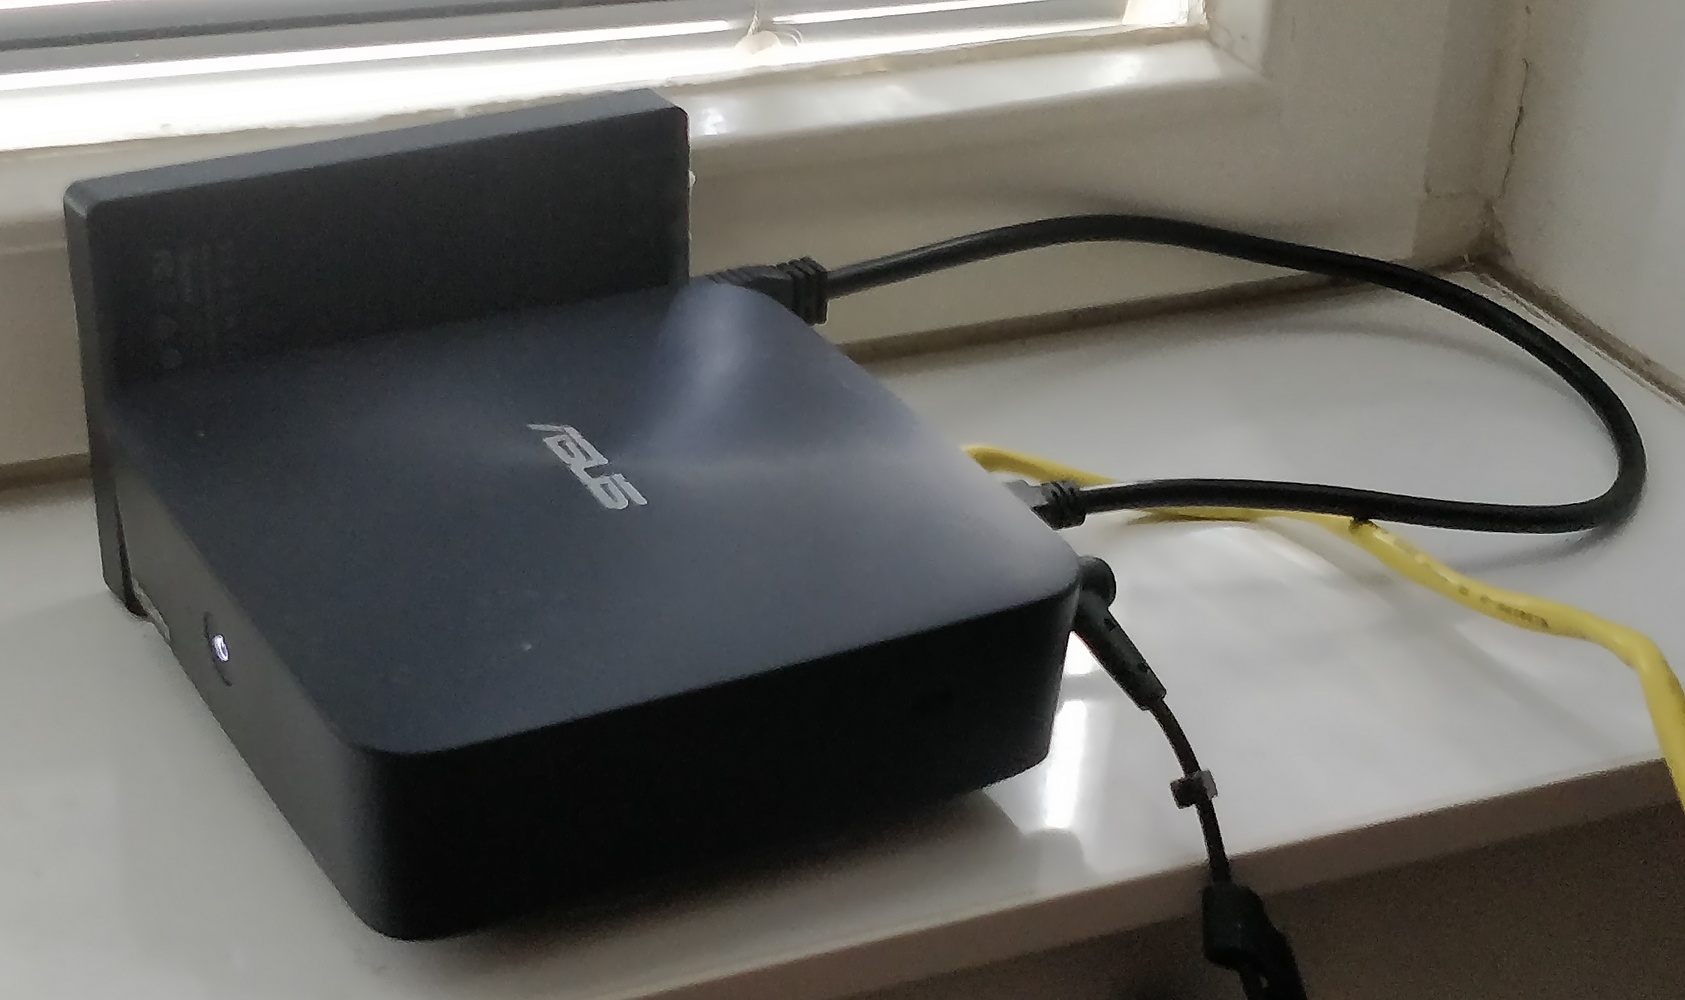
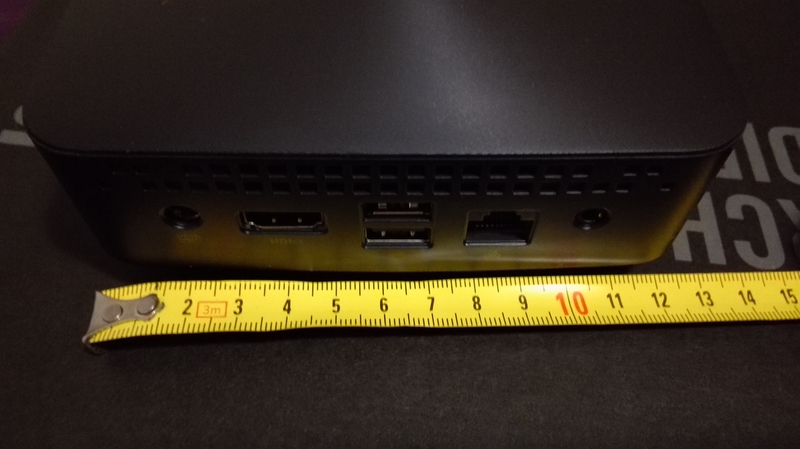
I have a tiny Asus VivoMini PC that I recently retired in favor of a more powerful system. Asus VivoMini PC is small, passively cooled, has an SSD installed and has low power consumption. It appeared as a perfect platform to build a simple NAS on.
Choosing OpenMediaVault
I first considered to run standard Lubuntu and install the requirements needed to use it as a NAS server. Then I checked free NAS systems FreeNAS and OpenMediaVault.
FreeNAS looked like an overkill for this simple system. OpenMediaVault, also known as omv, looked very promising: it is Debian based, is very lightweight, has no fuss and still has all the features that I was looking for. So I decided to go with OpenMediaVault.
Disk setup options
With OpenMediaVault there is at least four possibile ways to build a single-disk NAS:
- Put the storage area in the server's root filesystem by using plug-in sharerootfs. I tested this solution and it works well. There is no practical way to encrypt just the storage area.
- Repartition the disk outside omv after installation so that the root partition is shrunk and a separate partition is made for the storage area. This is the way I took since this makes it possible to separately encrypt the file storage area.
- Run omv from disk and use an USB stick for storage area. This is really no single-disk solution but a two-disk solution. I tested this solution and for some reason the IO performance of the sticks was terrible. The issue might be related to Debian USB drivers.
- Run omv from USB stick and use the disk for storage area. This is really no single-disk solution but a two-disk solution.
I tested using USB sticks as storage space. The performance that they gave was very bad both unencrypted and LUKS encrypted. The transfer speed dropped often to zero and the server showed very high numbers of io wait. The reasons for this is unknown. The server has USB 3.0 ports and the USB sticks were modern ones.
The base install
OpenMediaVault is based on Debian Linux so the base install is the same procedure as installing Debian Linux.
I downloaded the installation image from https://www.openmediavault.org/download.html and created a bootable USB stick from it.
I connected the computer to net with an Ethernet cable.
I set the computer to prioritize USB stick on boot (a BIOS setting) and then booted the computer from the stick.
OpenMediaVault greeted me with a simple welcome screen. Then I hit “Install” and started to answer the incoming questions.
- Language: English
- Location: other / Europe / Finland
- Locale: en_US.UTF-8
- Keymap: Finnish
- Primary network interface: Ethernet connection
- Set up a hostname
- Accepted the dummy domain name the installer suggested
- Set root password
- Selected the disk to install the system on
- The installer asked a confirmation to partitioning the disk (overwrite all data)
After these questions the installer stared to install the base Debian system. After that the post-installation questions started.
- Debian archive mirror country: Finland
- Changed the suggested Debian archive mirror from deb.debian.org to www.nic.funet.fi that has been online since 1990.
- No HTTP proxy
- The installer asked me to remove the USB stick and then rebooted to a text login prompt
The installation was done. The setup from this point on is done via OpenMediaVault's web control panel.
The text login prompt suggested the IP addresses where to find the panel. For some reason at this point all the listed network interfaces and their IP addresses were completely artificial. A reboot was required to show the real interfaces and their IP addresses.
Custom partitioning
There was no way to configure disk partitions in the base install process. The installer always sets a small boot partition, 4 GB swap partition and reserves the rest of the disk for a single root partition.
I wanted to have a separate partition for my files that could be encrypted with LUKS encryption.
I created a bootable Lubuntu USB stick (Lubuntu version 20.04 LTS) and booted the computer from it. Then I started System Tools > KDE Partition Manager. From there I located and selected the largest partition on the disk and chose Partition > Resize/Move.
OpenMediaVault documentation states the disk space requirement to be min. 4 GiB capacity (but more than the capacity of the RAM). I resized the partition to 12 GB to be well on the safe side. Then created I created a new unformatted partition from the free space.
By hitting Apply all the changes to partitions were applied.
I rebooted the system Lubuntu USB stick removed.
The configuration
The first login to web control panel is done with a default password. The user name and the default password can be seen on the OS text login prompt.
Configuration changes are done by browsing to a desired setting, editing it and pressing Save buttion. After a brief moment Apply button top of the screen. By hitting it the changes you made are applied.
Here is a list of some of the configuration changes that I made:
- Changed admin password at System > General settings > Web administrator password. Tested the password by doing logout, login.
- Set timezone at System > Date & Time > Timezone.
- Set a local time (NTP) server at System > Date & Time.
- Increased the admin session expiry timer at System > General settings > Web administration.
- Set the system to shut down when power button is pressed at System > Power Management
I installed all available updates offered at System > Update Management.
I rebooted the system to make sure it still booted. There is drop down list on top right of web control panel where a reboot can be initiated.
After installing all the updates OpenMediaVault version appears as 5.5.4-1 (Usul).
I set the system to shut down on power button press. That shutdown is typically very fast, much faster than a normal shutdown. Just a few flashes of disk light and the system is down.
Installing plug-ins
OpenMediaVault has a plug-in system. Plug-ins add features to the base omv system.
I first installed omvextrasorg plug-in. That is a prerequisite to install for example the LUKS encryption plugin.
Installing omvextrasorg was done partially manually. I went to https://forum.openmediavault.org/index.php?thread/5549-omv-extras-org-plugin/ and from there hit the download link that stated For OMV 5.x (usul). I then chose System > Plugins > Upload at web control panel and uploaded the downloaded plug-in to omv. After that omvextrasorg plug-in appeared on the plugin list. I selected it and hit Install.
After omvextrasorg plug-in was installed I installed other plug-ins in omv's standard way at System > Plugins.
- diskstats - it is nice to have disk usage statistics
- luksencryption - required to encrypt the file storage space
- lvm2 - required to be able to create an encrypted device out of a disk partition
Creating a shared SMB/CIFS storage space
At this point I had an installed, configured and running OpenMediaVault system. Now it was time to create the actual shared storage space.
I tested using server's root file system as storage space by installing sharerootfs plug-in. This worked fine and I would have used this solution but in this way there is no way to separately encrypt the storage space.
The summary of the required steps:
- Create a chain physical volume → volume group → logical volume on an unformatted disk partition.
- Create an encrypted device on the logical volume.
- Create a filesystem on the encrypted device.
- Create a shared folder on the filesystem.
- Create an user to access the shared folder and to be used as SMB/CIFS user.
- Configure the shared folder to be accessible via SMB/CIFS.
In short the chain is: unformatted disk partition → physical volume → volume group → logical volume → encrypted device → filesystem → shared folder → SMB/CIFS.
I first had trouble creating an encrypted file storage space. Web control panel showed no physical volumes at Storage > Logical Volume Management. Pressing Storage > Logical Volume Management > Physical volumes > Add displayed no devices that could be used to create a physical volume.
I logged to the computer as a root and checked the disk partitions.
lsblk
The I created a physical volume out of the partition
pvcreate /dev/sda4
where 4 was the number of the large unused partition I created earlier on this page at Custom partitioning.
When I returned to web admin panel the large unused partition appeared as at Physical volumes.
I proceeded to create a volume group on the physical volume and then a volume on the volume group. Effectively I set up a chain Physical volume → Volume group → Logical volume.
I created an encrypted device on the logical volume at Storage > Encryption. I set up a strong passphrase. I baked up the header of the encrypted device by choosing Recovery > Backup header and then unlocked the device by clicking Unlock and typing the passphrase.
I created a new ext4 filesystem on the encrypted device by choosing Storage > File Systems > Create. I hit Mount to mount the filesystem.
I created a shared folder on the filesystem by choosing Access Rights Management > Shared Folders > Create. I chose this permission setup from the dropdown list: adminstrator: read/write, users: read/write: others: none.
I created a new user by choosing Access Right Management > Users > Add. I added the user to group sambashare and disallowed the user to modify their account. At Privileges I gave the user read/write access on the newly created shared folder.
I enabled SMB/CIFS at Services > SMB/CIFS > Settings. Then I added the newly created shared folder to SMB/CIFS by choosing Services > SMB/CIFS > Shares > Add. I enabled the inherit permission feature.
After this the shared folder became available via SMB/CIFS. I tested it from Windows and Lubuntu Linux and the shared folder worked fine from both. On Windows I used Window's Credential Manager to store the access credentials before creating a mapping to the network drive.
It is important to note that the solution described on this page only encrypts the file storage space. The server's root filesystem including the operating system and server's swap space are both unencrypted.
The initial impressions
OpenMediaVault's web control panel is not fancy and has no wow-factor. But it is clear and functional. I have to say I like it.
The mighty passively-cooled Celeron N3000 processor of Asus VivoMini PC appears to handle single file transfer fine, showing about 30 % CPU usage by smbd. I assume that the transfer speed is limited by the network, not the CPU. Based on this the server should be able to handle several simultaneous transfers.
The load caused by the web control panel is light and should not cause any issues. Applying the setting changes appears to be the most cpu-heavy operation, consuming 40 % - 100 % of CPU for a moment.

External improvement
I set my router to give a fixed IP address to the server based on the server's interface's MAC addess. This is handy since now the server and it's web control panel is found at fixed IP address.
I set the server to boot automatically after power loss. There is no need to press the power button. The BIOS setting (Asus) to do this was Advanced > APM Configuration > Restore AC Power Loss > Power On.
I had my music collection converted to FLAC files on an external 2,5“ USB HDD. I attched it to server and created a separate OpenMediaVault shared folder to share the content. I installed and configured hd-idle available as a Debian package. It spins down the external HDD when it is not actively used in order to minimize noise, power consumption and disk wear.

